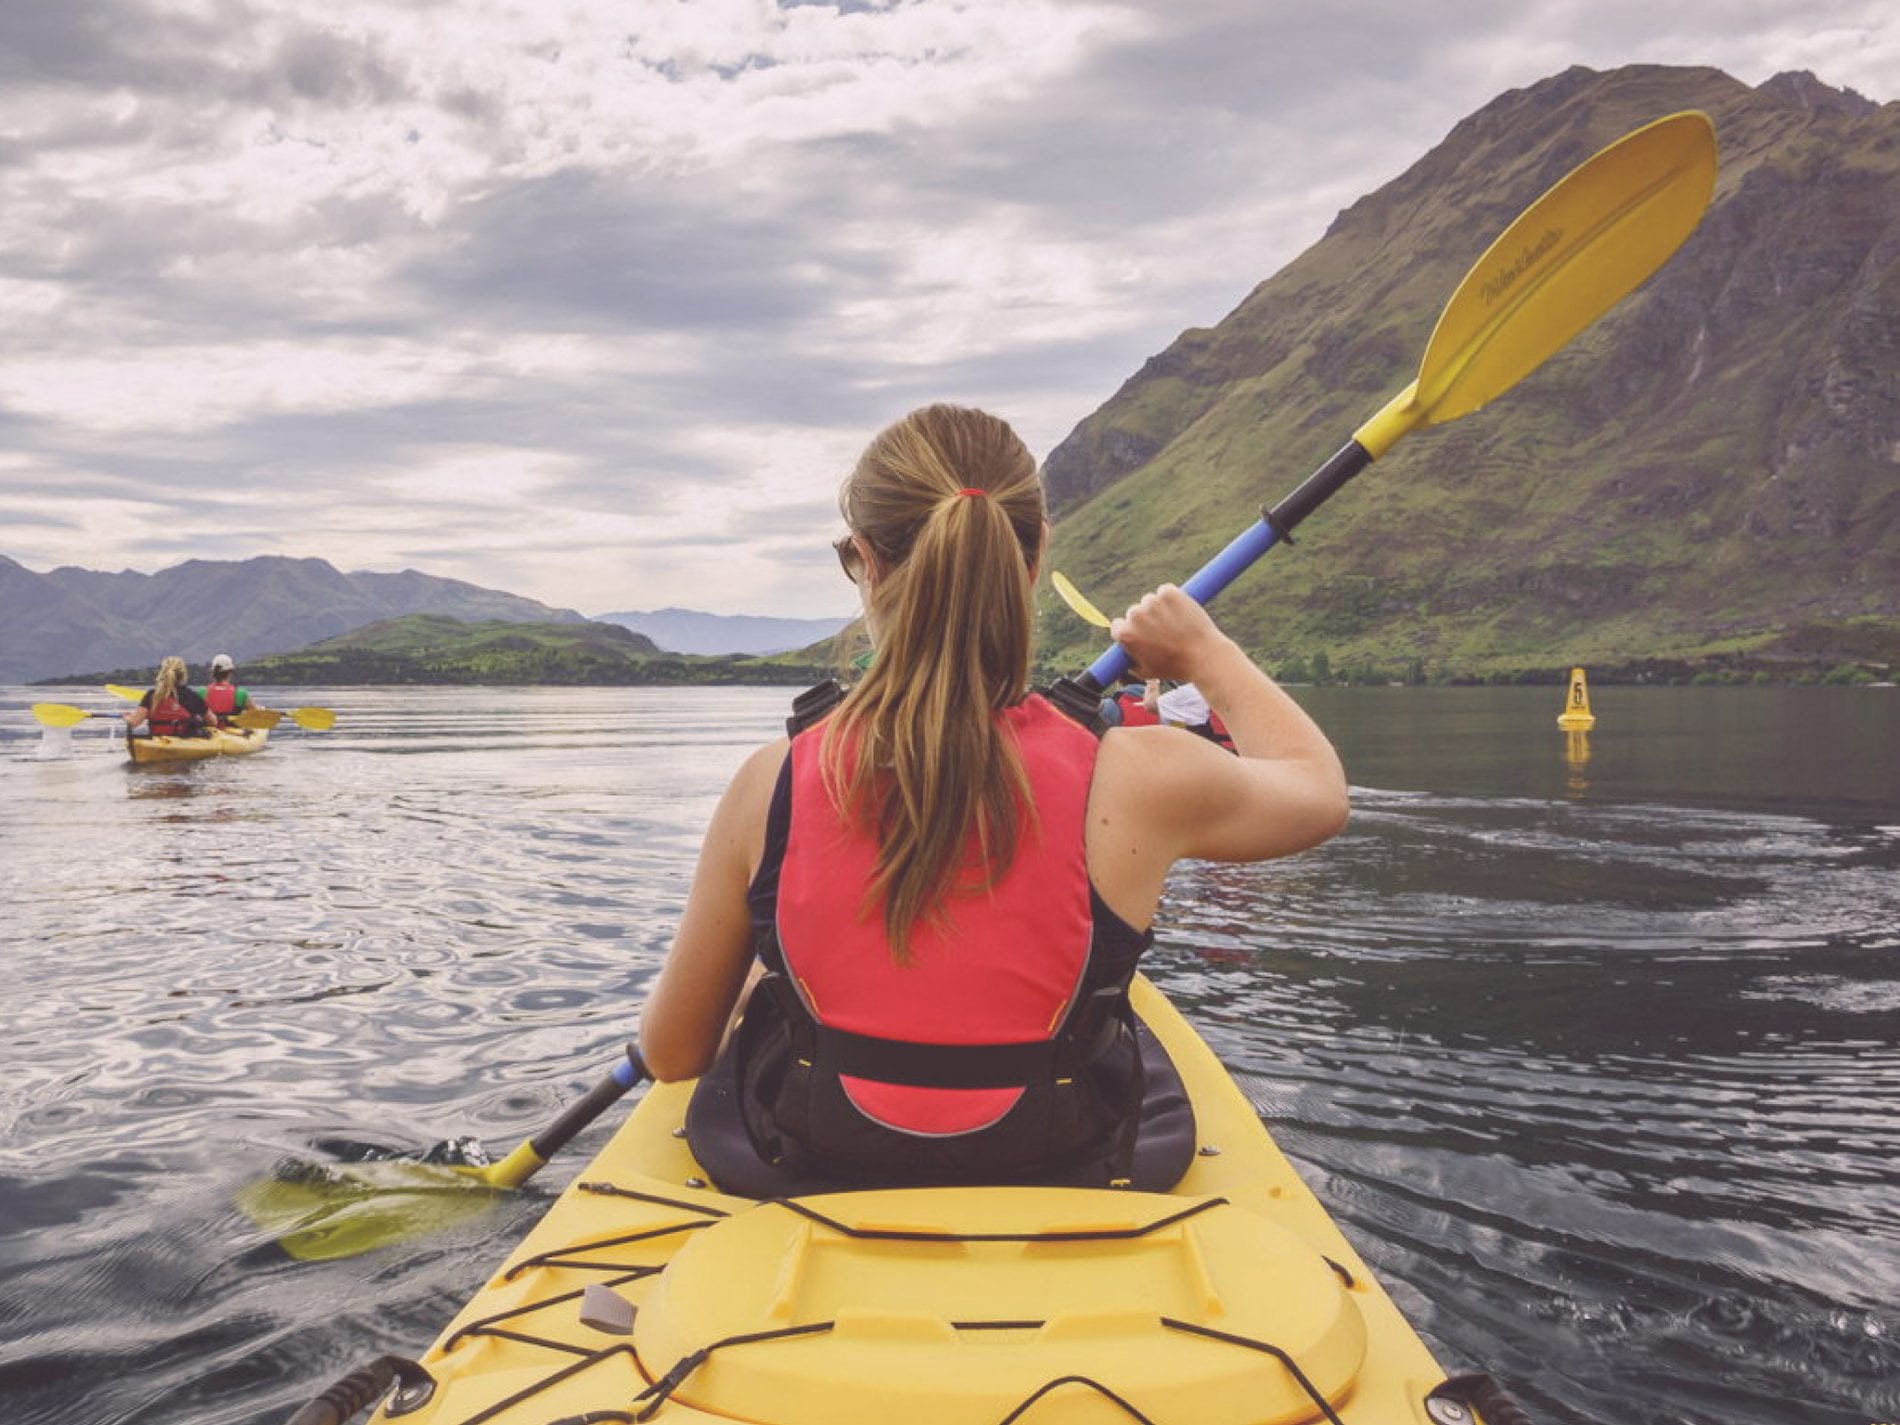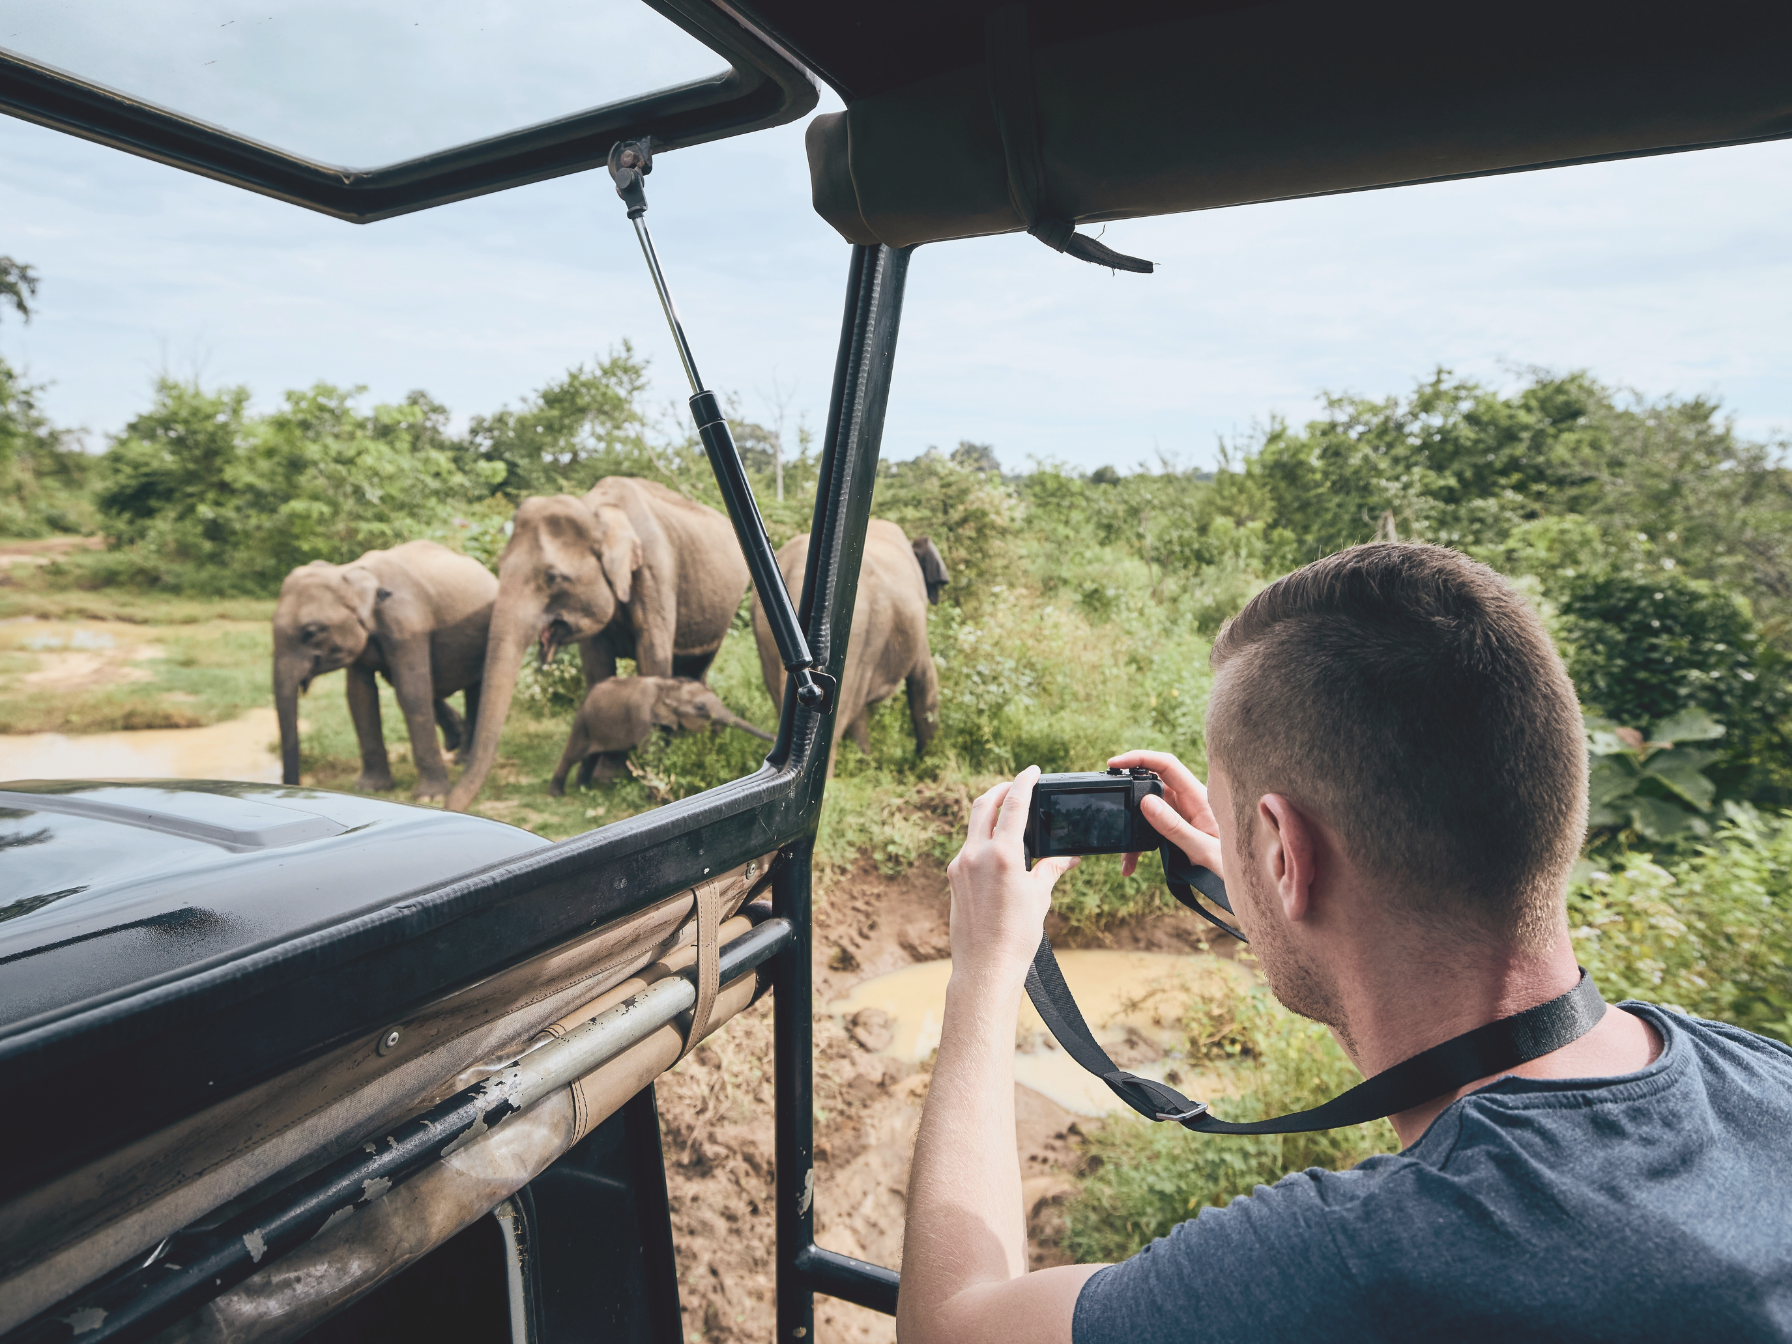
Wildlife photography is one of the most rewarding pursuits a photographer can explore. It is also among the most challenging. Wild animals don’t pose for the camera like models. They don’t warn you when a “Kodak moment” is about to happen.
To help you take beautiful wildlife photos fit for National Geographic, try our 10 quick tips on your next shoot.
Tip #1: Get to Know Your Subject
If your objective is to get shots of a particular animal (say, manatees, for example), it will help a lot to do some research about your subject in advance of your shoot. What time of day are they most active? Do they travel in groups or solo? Will you find them on open, grassy plains or amid the trees? Will it be possible to get right up close to them?
By answering these sorts of questions, you’ll be able to tailor your approach and select your gear to match.
Tip #2: Up Your Shutter Speed
Taking photographs of animals, particularly wild ones, is a bit like taking pictures of athletes in motion. Their constant and unpredictable motion means that faster shutter speeds are generally your best bet. Here are some rules of thumb for wildlife photography shutter speeds:
- In general: 1/250 and up
- Animals sitting/standing still: 1/100
- Moving animals: 1/500
- Running animals: 1/1000
- Birds in flight: 1/1250
Remember that if you’re using aperture priority mode (see below), you’ll need to decrease your aperture to speed up your shutter speed, and vice versa. If your camera does not have manual-adjustment functionality, look for pre-sets like sports mode.
Also, bear in mind the relationship between shutter speed and lens focal length for handheld cameras. For example, for a 250mm lens, you should add 1/250th of a second to your shutter speed.
Tip #3: Choose a Long Lens
Speaking of lens length, larger lenses tend to work best for wildlife photography, particularly if it is not possible to get close to your subject. In most cases, 200mm to 400mm will suffice. This applies whether you are using a fixed focal length or a zoom lens.
Consider activating stability mode or a tripod when using a larger lens, as this will keep your images sharply in focus.
If money saving is a priority, consider purchasing a teleconverter for your existing lens rather than a whole new lens. Bear in mind that the practical cost of this is a reduced number of aperture options.
Tip #4: Opt for Aperture Priority Mode
With this option, you set the aperture manually and allow the camera to select the shutter speed. This will allow greater manual control without sacrificing exposure quality.
To further increase the shutter speed in this mode, you can simply increase the ISO (see below) by one or two stops.
Tip #5: Go for a Mid-Level ISO Setting
A mid-range ISO (around 400-800) is ideal for wildlife photography and enables a shutter speed quick enough to capture animals in motion, regardless of the lighting conditions.
You never know when a fleeting, memorable moment will occur. These can take place in the blink of an eye or even between shots (think of an eagle snatching up a fish from the water). So, you could also ignore the ISO by focusing on shutter speed and aperture, leaving auto ISO to determine the ideal corresponding ISO.
READ MORE PHOTOGRAPHY GUIDES FROM WANDERLUSTERS
Tip #6: Steady Your Shots
Again, animals tend to be in motion, so good camera focus is essential. A great solution here is auto-focus. Check out your camera settings to see the auto-focus options available.
Typically, you can choose between a single focal point and continuous focus, depending on your needs. You can test this by taking a shot and reviewing it before selecting the best option.
Another option, if possible, is to use a tripod or monopod to steady a shaky hand. If the shot is too low for these, you can always use your backpack or a nearby rock to serve the same purpose. For an alternative to viewfinders, explore the modern innovation of mirrorless cameras.
Tip #7: Compose with Care
As in all photography, the correct composition is essential to capturing striking wildlife photos.
Always remember the rule of thirds when composing your shot. Use this to shape the scene into a visually pleasing composition, either horizontally, vertically, or both. Use the grid of your viewfinder, if your camera has one, to make this easier.
You should also take care to eliminate visual noise from your photograph. Unless it serves an artistic purpose, you don’t want your subject obscured by another element, such as a tree branch or another animal.
Tip #8: Play with Perspectives
The most captivating wildlife images make the viewer feel like they are physically present within the scene. In other words, natural shots that allow viewers to forget that there’s a camera and photographer between them and the subject are preferred.
Ways to create natural-looking shots include variations between close-up images and zoomed-out images, low- or high-level rather than eye-level shots, and experimentation with oblique angles.
You’ll need to push the boundaries of your comfort zone if you’re going to snap the perfect shot.
Tip #9: Measure Your Progress Visually
There’s no better place to showcase your wildlife photography than in an online portfolio. But your portfolio is also the perfect place to see how far you’ve come and to assess what areas still need improvement.
If you regularly update your portfolio with new and improved shots, you can chart your journey as a wildlife photographer while sharing your work with the world at the same time.
Tip #10: Finally, Be Patient
There’s a delicate balance in wildlife photography between keeping up with fast movements and patiently waiting for them to occur: hurry up and wait. Your animal subject has no regard for your timeline. So you’ll have to be prepared to wait quite a while for a picture-worthy scene to emerge. Hopefully, you won’t have to wait the 4200 hours that Scottish photographer Alan McFadyen did to capture his award-winning shot of a diving kingfisher… but patience is clearly essential for getting those high quality wildlife photographs.
PIN THIS TO YOUR TRAVEL PHOTOGRAPHY PINTEREST BOARD