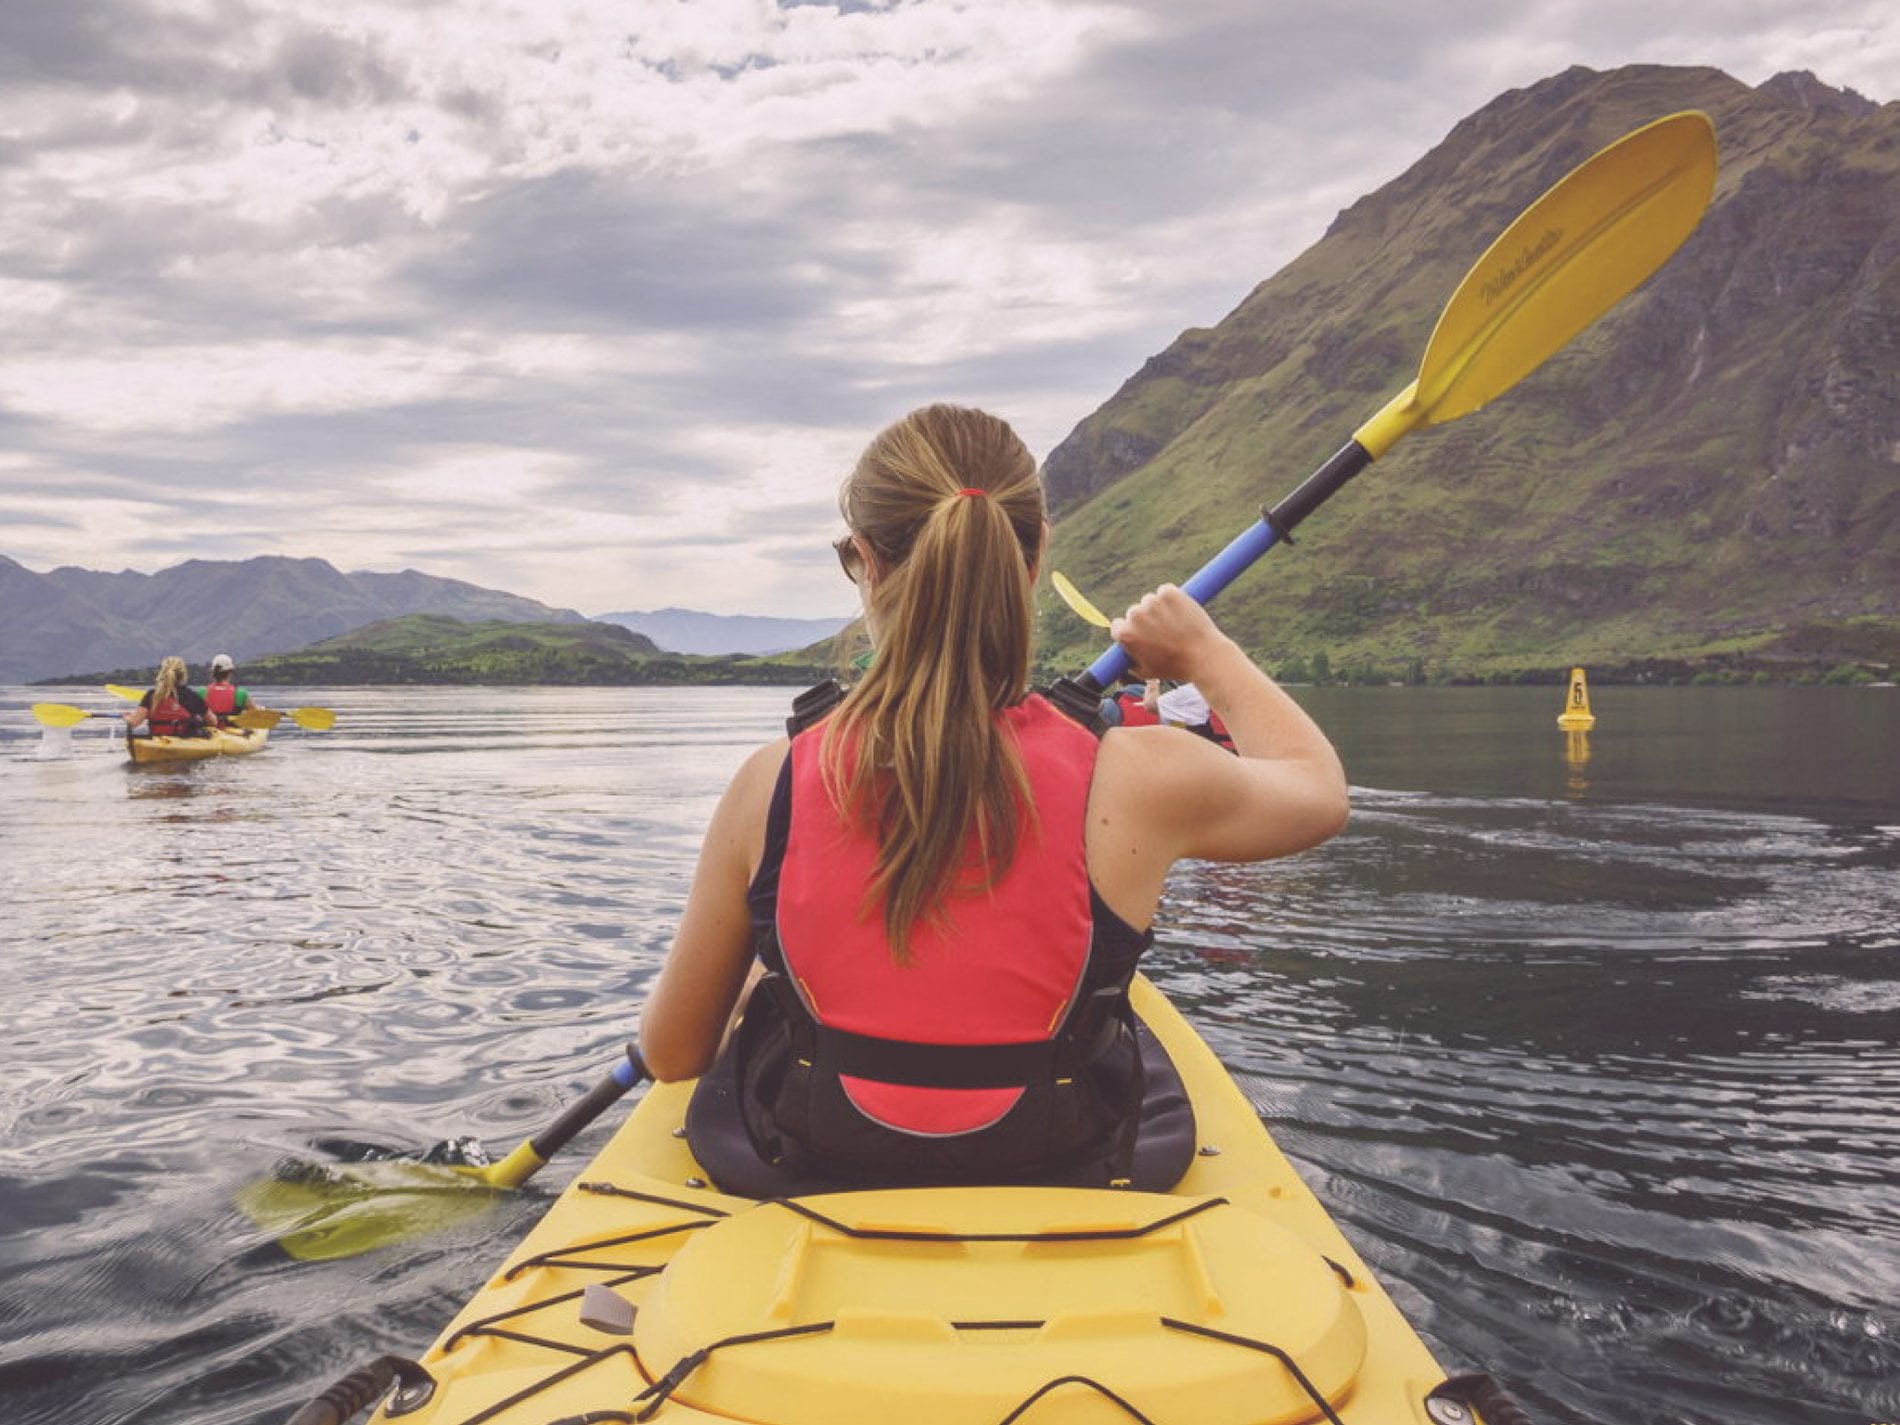
An adventure photo book is more than just a collection of snapshots. It’s a curated narrative that lets you relive your most thrilling moments. But capturing the essence of your adventures isn’t just about choosing the right photos; it’s about the overall design. In fact, design can make or break how impactful your photo book is.
To guide you through this creative process, we’ve compiled four essential design tips. Follow along to ensure your adventure photo book is as captivating as the experiences it contains.


Tip #1: Choose A Cohesive Theme
When it comes to choosing a theme, consider the type of adventure you embarked on. For hiking adventures, you might focus on themes like ‘Trails and Treks’ or ‘Mountain Highs.’ If you’ve been exploring the ocean, ‘Underwater Worlds’ or ‘Tropical Paradise’ could be fitting themes. The key is to pick something that resonates with the essence of your adventure.
Maintaining your chosen theme throughout the book might seem challenging, but it doesn’t have to be. Here are some practical ways to do it:
- Color Scheme: Use colors that align with your theme. If your theme is ‘Winter Wonderland,’ shades of blue and white can enhance the mood.
- Typography: The fonts you choose can also contribute to the theme. For instance, if you’ve gone on a rustic camping trip, a handwritten font might add a personal touch.
- Consistent Layout: Stick to a layout style that complements your theme. If your adventure was fast-paced and full of action, dynamic layouts with multiple images per page can work well.
- Captions And Text: Incorporate text that echoes your theme. If you chose a ‘Tropical Paradise’ theme, include captions that capture the vibe, such as ‘Swaying Palms’ or ‘Azure Waves.’
By dedicating time to choose and maintain a cohesive theme, you’re setting the foundation for an adventure photo book that’s not just visually pleasing, but emotionally resonant as well.
Tip #2: Prioritize Photo Quality
High-quality images are vital for any adventure photo book. They make your book visually appealing and help convey the essence of your experiences. Simply put, better photos make your book more engaging.
Selecting the right photos is your first step. Look for images with a high resolution, aiming for at least 300 DPI for optimal print quality. Focus on pictures that have good lighting and composition. Stay away from blurry or overexposed shots as they can ruin the overall experience.
Editing is the next important step. Simple tweaks like cropping, adjusting colors, and enhancing contrast can go a long way. While many smartphones offer decent built-in editing features, specialized photo editing software can provide more control. Free and paid options are available online, giving you a range of tools for refining your images.
If you’re not tech-savvy, there’s no need to fret. Online platforms offer user-friendly photo editing tools that come with preset templates. These make the editing process easy, even for those who aren’t experienced.
Tip #3: Narrate Through Layout
A well-thought-out layout can guide the reader’s eyes, creating a visual journey that complements the adventures captured in your photos. One way to achieve this is through visual cues. For example, if one page ends with a photo of a sunset, the next could start with an image of a campfire. The idea is to build a natural progression, making it easier for the reader to follow along.
Let’s talk about balance, which is key for a visually appealing layout. Here, white space, grids, and positioning come into play:
- White Space: Don’t underestimate the power of empty space. It gives the reader’s eyes a break and highlights your photos. If a page has intense action shots, the opposite page might benefit from more white space for balance.
- Grids: Using a grid system can help keep your layout neat and organized. It allows you to align images and text easily, creating harmony on each page.
- Positioning: The placement of your photos should also tell a story. Place the most impactful images at the center or in a large size to capture attention. Use smaller images to supplement the story, perhaps arranging them around the larger central image.
The layout doesn’t have to be complex to be effective. Sometimes, the simplest layouts can be the most captivating. By focusing on storytelling, flow, and balance, you can create a layout that not only looks good but also enriches your adventure photo book.
Tip #4: Mix Media Types
Photos are the stars of your adventure photo book, but they don’t have to carry the entire story. Mixing different types of media can add layers of depth and context to your narrative.
Consider including maps in your photo book, for instance. A map showing your hiking trails or dive spots gives geographical context to your photos. It allows the reader to visualize your journey, making it easier to relate to your adventure.
Sketches are another excellent addition. A quick drawing of a unique plant you saw or an interesting person you met can offer a fresh perspective. It also gives your book a personalized touch, something that can’t be captured in a photo.
Don’t overlook the power of words, either. Including diary entries or short anecdotes can provide emotional depth. It’s one thing to see a beautiful mountain range, but reading your thoughts about reaching the peak can make it even more impactful.
READ MORE TRAVEL PHOTOGRAPHY GUIDES FROM WANDERLUSTERS
Designing an adventure photo book is a rewarding journey in itself. It’s an opportunity to relive your experiences and craft a compelling story that others can enjoy. Each of these elements contributes to a richer narrative, transforming your photo book from a simple album into a captivating adventure. So, grab your photos, and let’s make your adventure live on forever in the pages of your own crafted masterpiece.