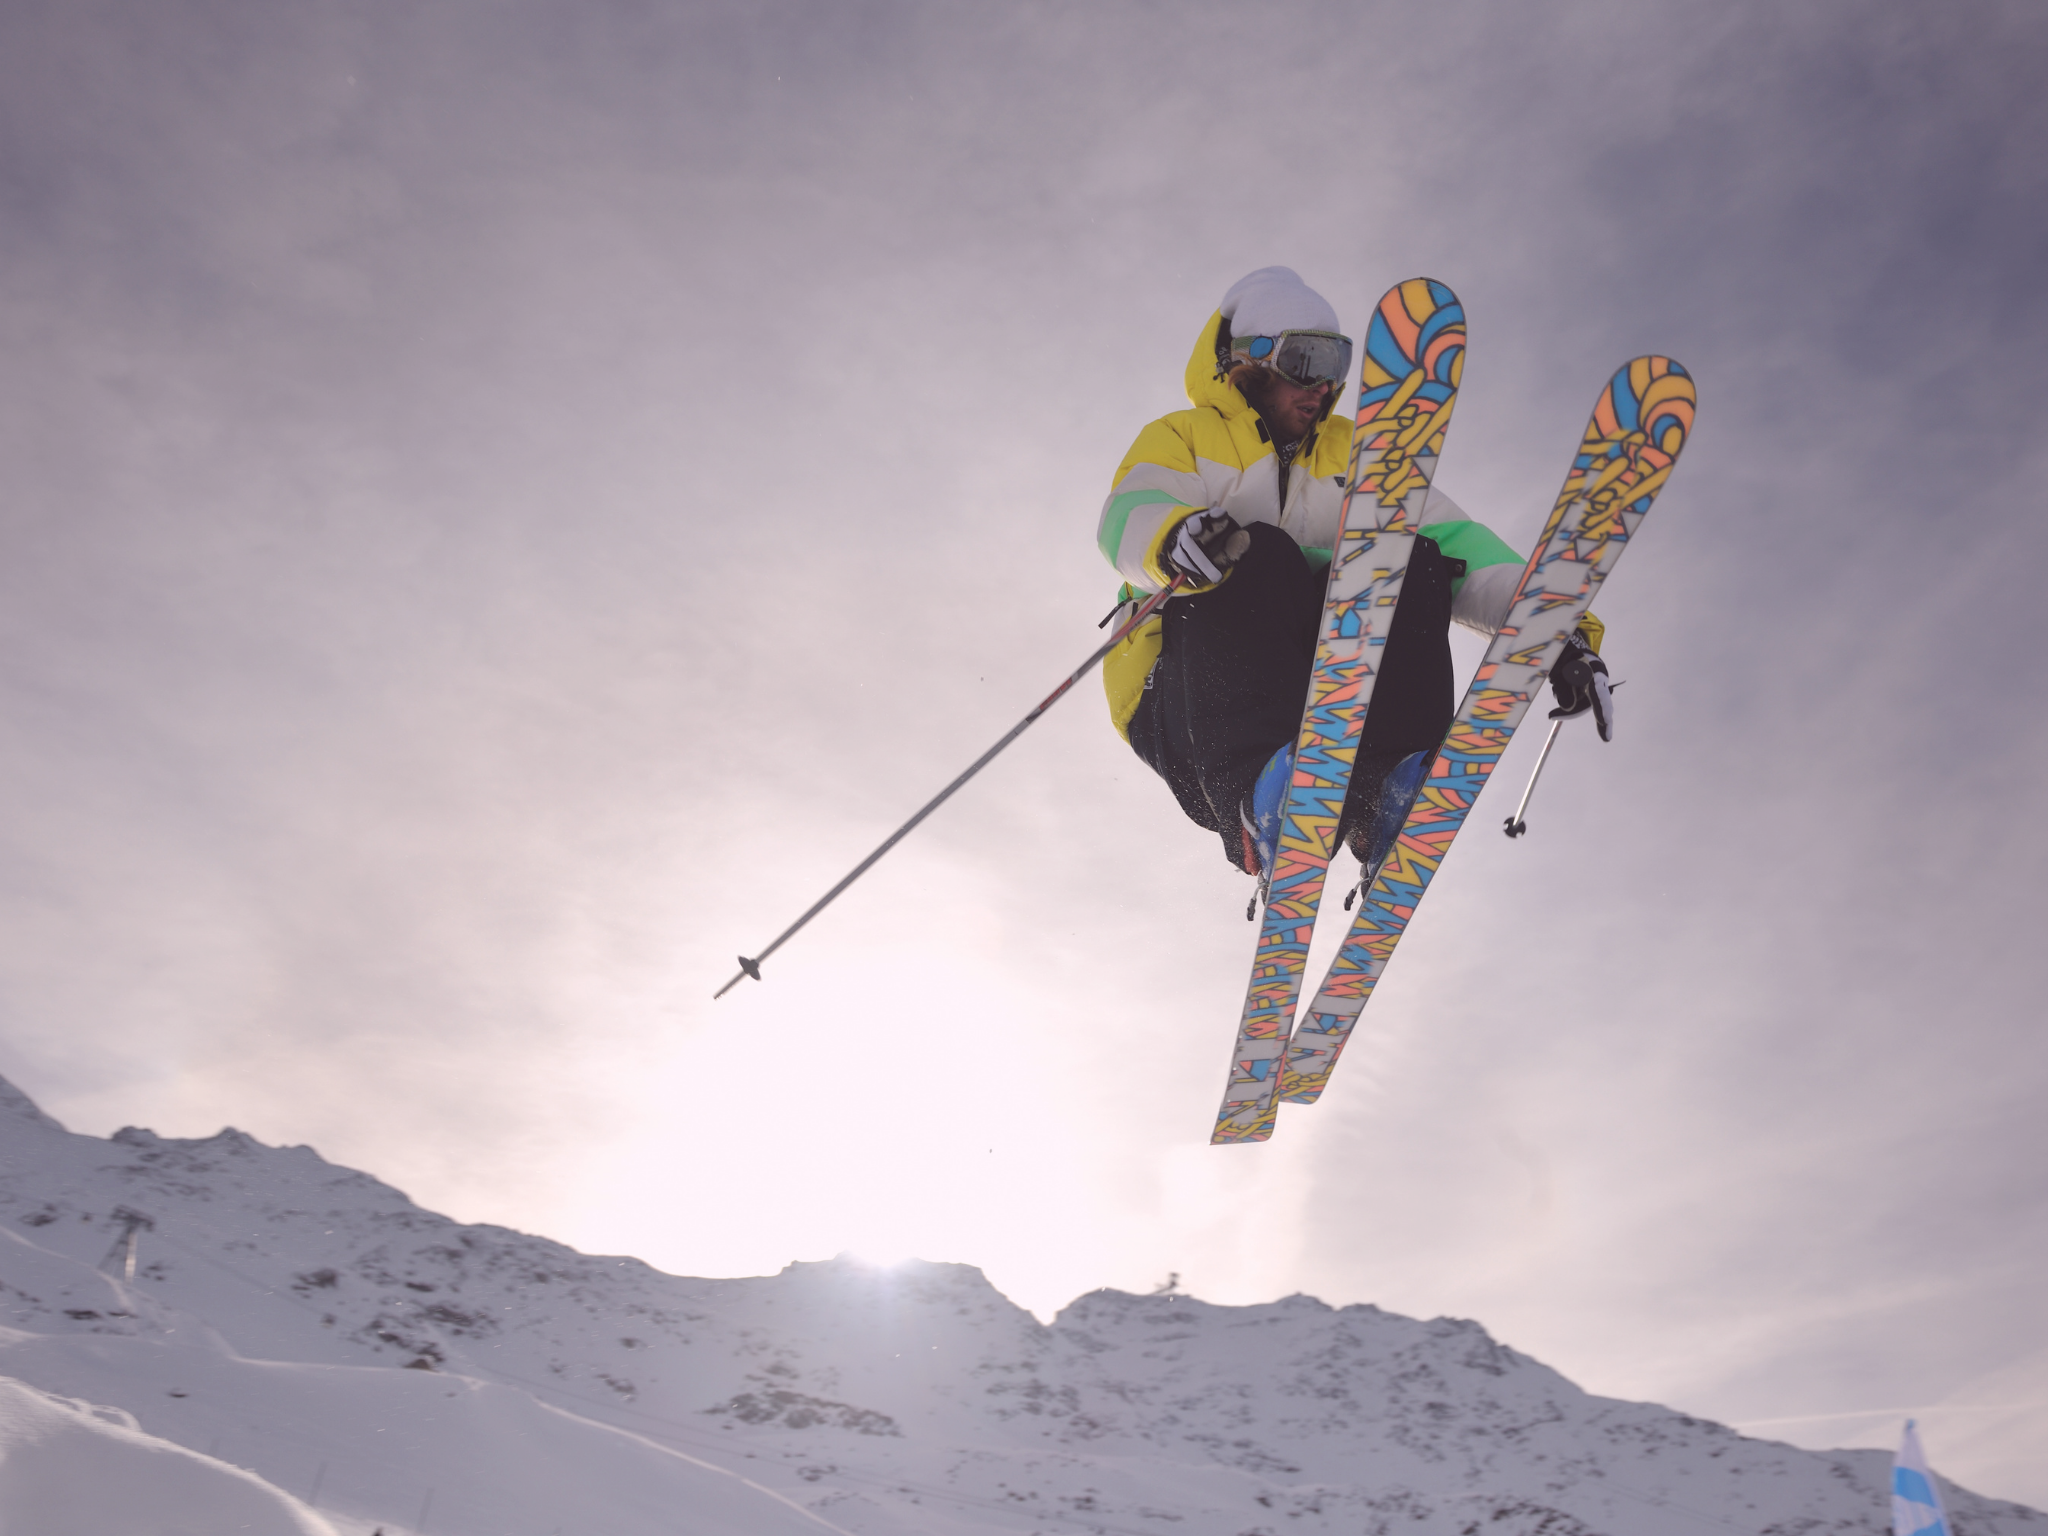
The art of freestyle skiing is taking the world by storm. The sport has become so popular that it’s now a part of the Olympics. You’ve probably seen pros doing all kinds of tricks and stunts on social media and streaming sites like YouTube, but there’s a lot more to this activity than meets the eye. From ski helmet accessories to essential warm-ups, it requires lots of coordination, practice, and safety equipment.
Freestyle skiing can refer to several different ski maneuvers and disciplines, including moguls, aerials, slopestyle, and halfpipe, but it often involves jumps and acrobatic stunts that can increase the risk of injury. If you land in the wrong position, you could injure your shoulder, leg, wrist, or head. Common injuries include concussion, torn ACLs, dislocated shoulder, or fractured ankle or wrist.
The good news is there are many precautions you can take to reduce your risk of injury so you can master the art of freestyling. Follow these freestyle skiing safety tips to enjoy your new hobby responsibly.
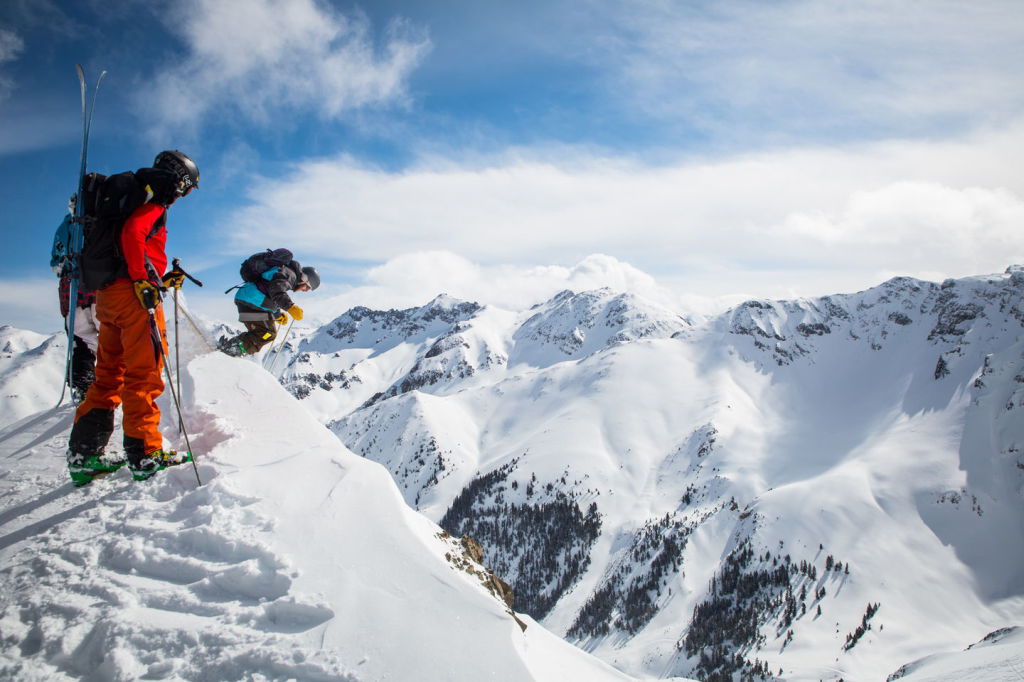
Safety first
As we said before, it all starts with wearing the proper equipment. You shouldn’t use your downhill skis to do tricks. Freestylers tend to use special skis designed for stunts. Halfpipe and slopestyle skis have ends bent upwards, giving you more of a lift when coming off the rim. Mogul skis are shorter for doing sharp turns. And lastly, aerial skis are light and typically shorter than the skier. Make sure you have the right gear for the task at hand. The bindings should be fitted to your shoe size. You probably won’t need poles, as most pros don’t use them. If you’re renting equipment from the local lodge, talk to the associate about your plans to see what they recommend.
Considering the risks involved, you should pay special attention to your protective gear. Your ski suit should be completely waterproof without restricting your range of motion. You should be able to bend, twist and jump with ease. It’s best to pad the suit with additional body protection in case you fall. Insert them around the back, hips and arms. Use knee and elbow pads to protect your joints as well.
You must wear a durable helmet and goggles when freestyling. In fact, in most cases, you won’t even be allowed on the pipes without one. Make sure the helmet is securely attached and won’t fall off even when you’re in midair.
Stay connected
Once you have the safety gear, it’s time to stock up on ski helmet accessories that will make your life easier on the slopes. You should be able to call for help in an emergency without physically reaching for your device. Lots of skiers also prefer to communicate with their trainers in real time when doing stunts. The trainer can watch their posture and skis’ position to ensure they get off to a good start.
Use a ski helmet communication device to connect with your trainer on the slopes, especially when you’re just starting out. Your mentor can give you tips while you are in position. You can also ask questions and get feedback from your trainer without shouting across the park. This device can clip onto your helmet without obstructing your view. Just speak into the device to have a conversation as if you were talking in person. This allows you to keep your hands free so you can focus on landing gracefully.
Practice makes perfect
Freestyle skiing isn’t the same as gliding downhill. You won’t have gravity on your side to build up speed. The sport requires you to maintain an active stance. You need to be able to move your body without losing balance on the skis. Be sure to practice jumping, running and sliding in skis before trying your first trick. Once you master these skills, you can graduate to large runs and hills so you have more room to bust a move.
Consider signing up for a freestyle class to learn the basics. You shouldn’t try freestyle skiing until you’ve learned how to downhill ski. Stopping, starting and gliding should all be second nature to you by now. You should always have an experienced skier on hand when you’re new to the sport. They will be there to give you the confidence you need to land your first jump. It will also give you peace of mind knowing someone is there to have your back in case you fall. Find a well-maintained halfpipe or slope once you are ready to take on your first jump. Start with simple tricks like rotating your body midair. Work on building up your speed to get as much air as possible off the rim.
It can take some people years to master the sport, so be patient if you don’t get the hang of it right away. Keep these safety tips in mind when hitting the pipes to make sure you can get back up and try again.

